How to install Windows XP
Hello folks! Now we are going to see how to install Windows XP on your machine. Follow these simple guidelines to get it done :
- Insert your Bootable XP CD into your CD/DVD drive and restart your system.
- Enter the BIOS Setup. Go to Boot Menu
- Set the priority of your CD/DVD higher than that of your Hard disk’s. Save your settings & Exit the BIOS. In this way you’ll be able to boot from the XP CD.
- The following message will appear :
- Press any key to boot from CD….
- Now press any key to enter into the Setup process. Wait until all the necessary files have been loaded and the following screen appears :

- Now press Enter key. The following screen will appear :

- Press F8 to accept the EULA. Now this screen will appear :

- Now just as on the screen the following keys are used:
- C – Create a partition. If you press C, you will be asked to enter the size for the partition. Note that two or more partitions is always advisable. Keep your system files and others in seperate partitions.
- D – To delete an existing partition. Do not use this unless you want to delete that partition. The Setup will ask for confirmation before deleting the partition. If you want to do so, then confirm deletion.
- Enter – Install the partition in selected partition :

- Now press the Enter key to Format & Install XP on the selected partition.

- Select either 1st or 3rd option. NTFS file system is most recommended. As a matter of fact, many softwares do not support FAT any longer. The Setup will format and copy the necessary files. Then it will reboot and continue the installation process.
- The following screen will appear after some time

- Click on Customize button. Select your Country and Preferred Language.
- Click on Next.

- Enter your Name & Organization in the respective fields. Click on Next.
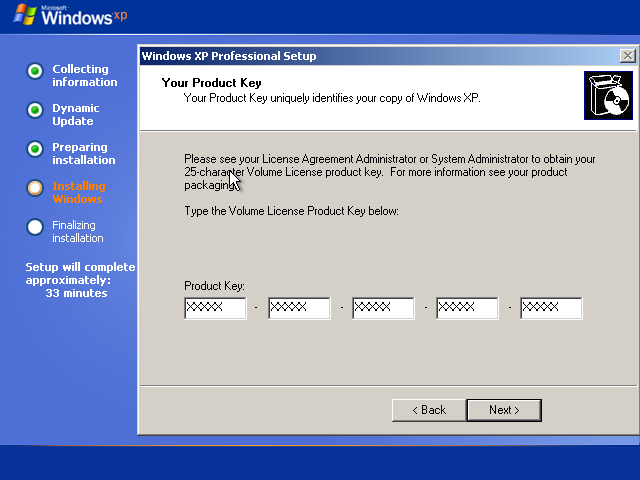
- Enter the 25 characters Product Key int the provided field. Click on Next. The Setup will continue will copying files.
- After some times, the Network Settings Configuration Wizard will open.
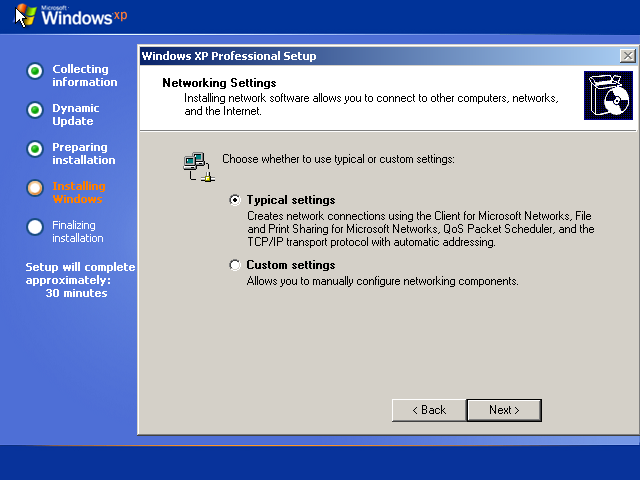
- Choose Typical Settings. Click Next

- Select the first option and click on Next. These settings can done manually after the installation. Click on Next. The Setup will continue and after completion it will reboot.
- It will ask for Resolution changes. Select Yes if you want to change the current Resolution.
- The following screen will appear :

- Select Next
- In the following screens for registration of windows, click skip. If you have an ethernet connection that does not need to be configured, then you can Register. (Of course yours should be a genuine windows…. )
- Then appears the following screen :
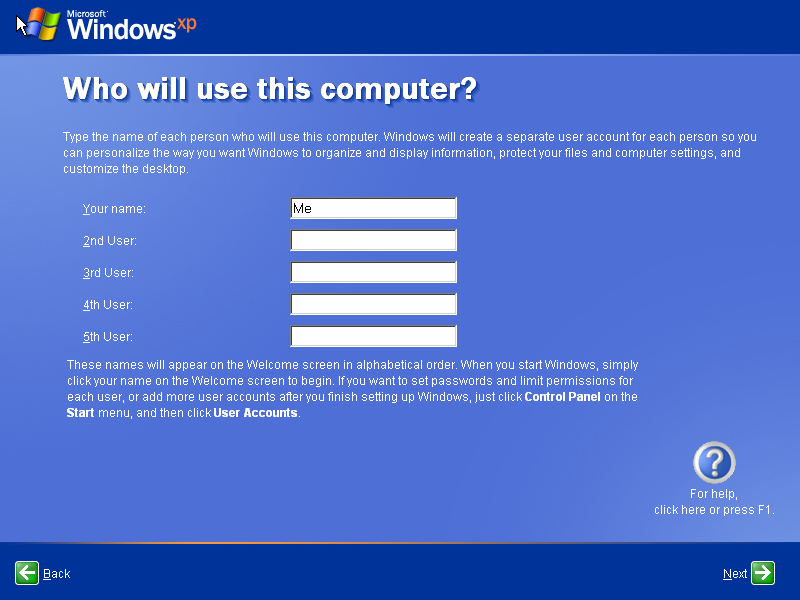
- Create the users for the system. Click on Next. Thats it. you’re done…..

- Everything is set for you. Now install the necessary drivers and required softwares…
Learn more about how to Trace mobile number in India.
very neat explanation 🙂 hope everyone will be smart enough to understand this tutorial..!